We recommend using the Scriptel Easy Script devices for electronic signatures over a Graphics Tablet. Click HERE for more information.
The requirement to have signed receipts is slowly but surely going the way of the dinosaur. If you use the CP Electronic Signatures, please note they are stored for 3 years, after which the signature is automatically deleted. The receipt itself is not deleted just the signature file.
Devices
The device needs to function the same as a mouse. If you are unsure, ask the sales company or manufacturer before you make your purchase.
Cash Practice DOES NOT PROVIDE ANY SUPPORT FOR THESE DEVICES. If you find a device is not working, you will need to contact the manufacturer.
>> Customer Tip: Brands known to work based on our patients' feedback are the Huion 420 and the Wacom Bamboo CTL 471
Have a device already? Be sure to adjust the settings if you're having trouble with the signature fitting in the window. See HERE.
ChiroTouch® and POS Users Please Read!
Signature pads that come with programs like ChiroTouch® DO NOT work with this. Do not purchase signature pads like Topaz. Those devices are designed to work with programs installed on your computer, not web-based applications. The signature capture method we use allows you to use any mouse input device.
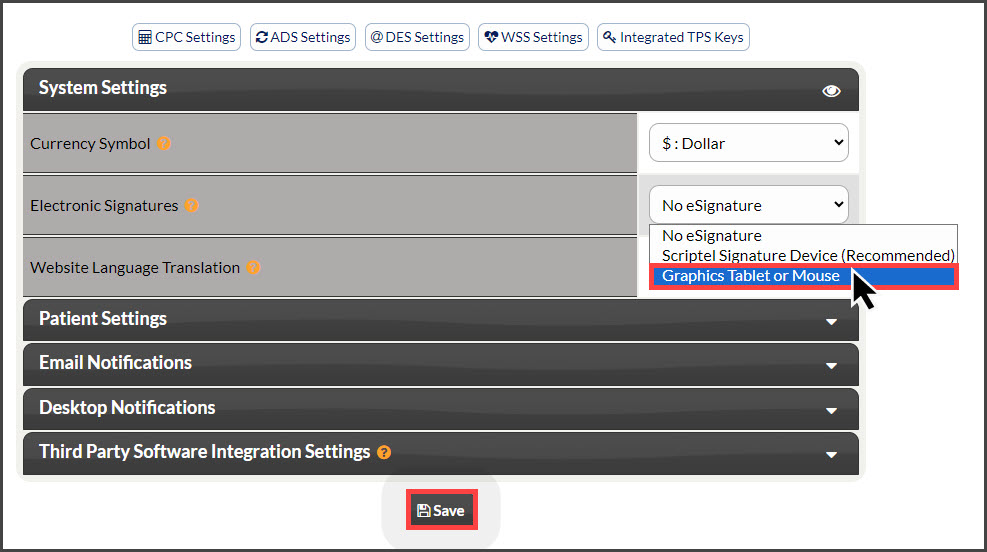
Turn on Electronic Signatures:
Step 1: Log in as the Admin/Account Owner, hover your mouse over the [User Profile]→ go to [My Account] → click on [System Settings].

Step 2: For the [Electronic Signatures] field → select [Graphics Tablet or Mouse] → then click the [Save] button.
Electronic Signature of Transaction Receipt:
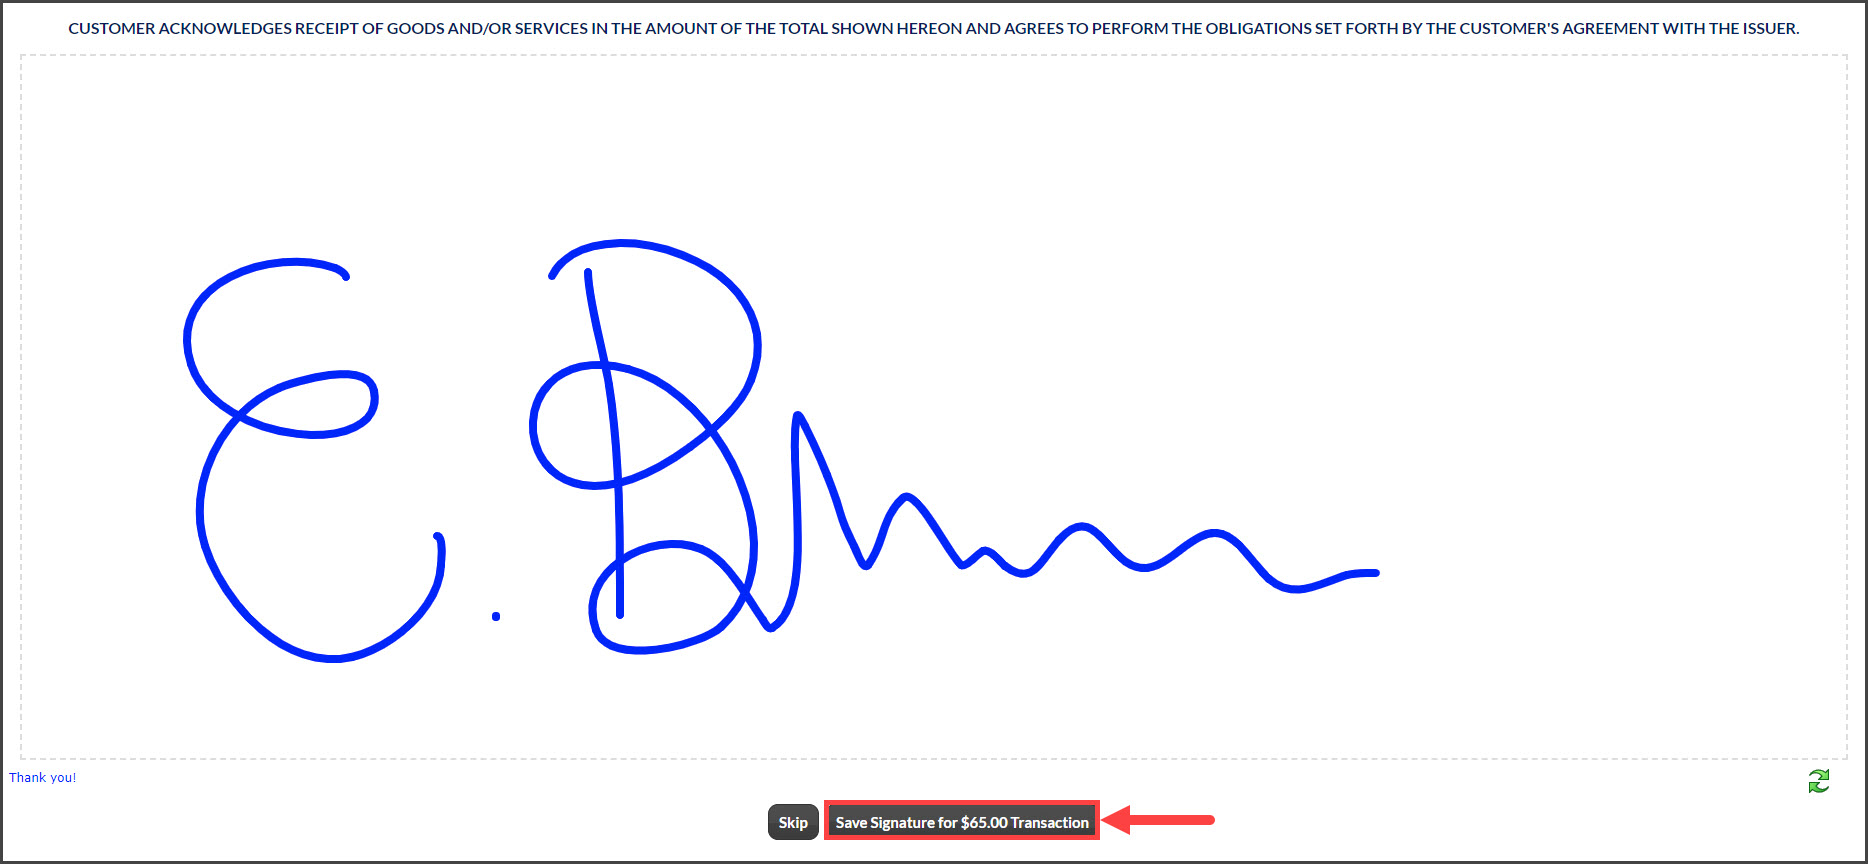
Step 1: Once you have processed the transaction, a signature screen will come up and the cursor will turn into a pen. Your patient can sign via your electronic signature pad, computer mouse, or touchscreen monitor. Or you can skip the signature.
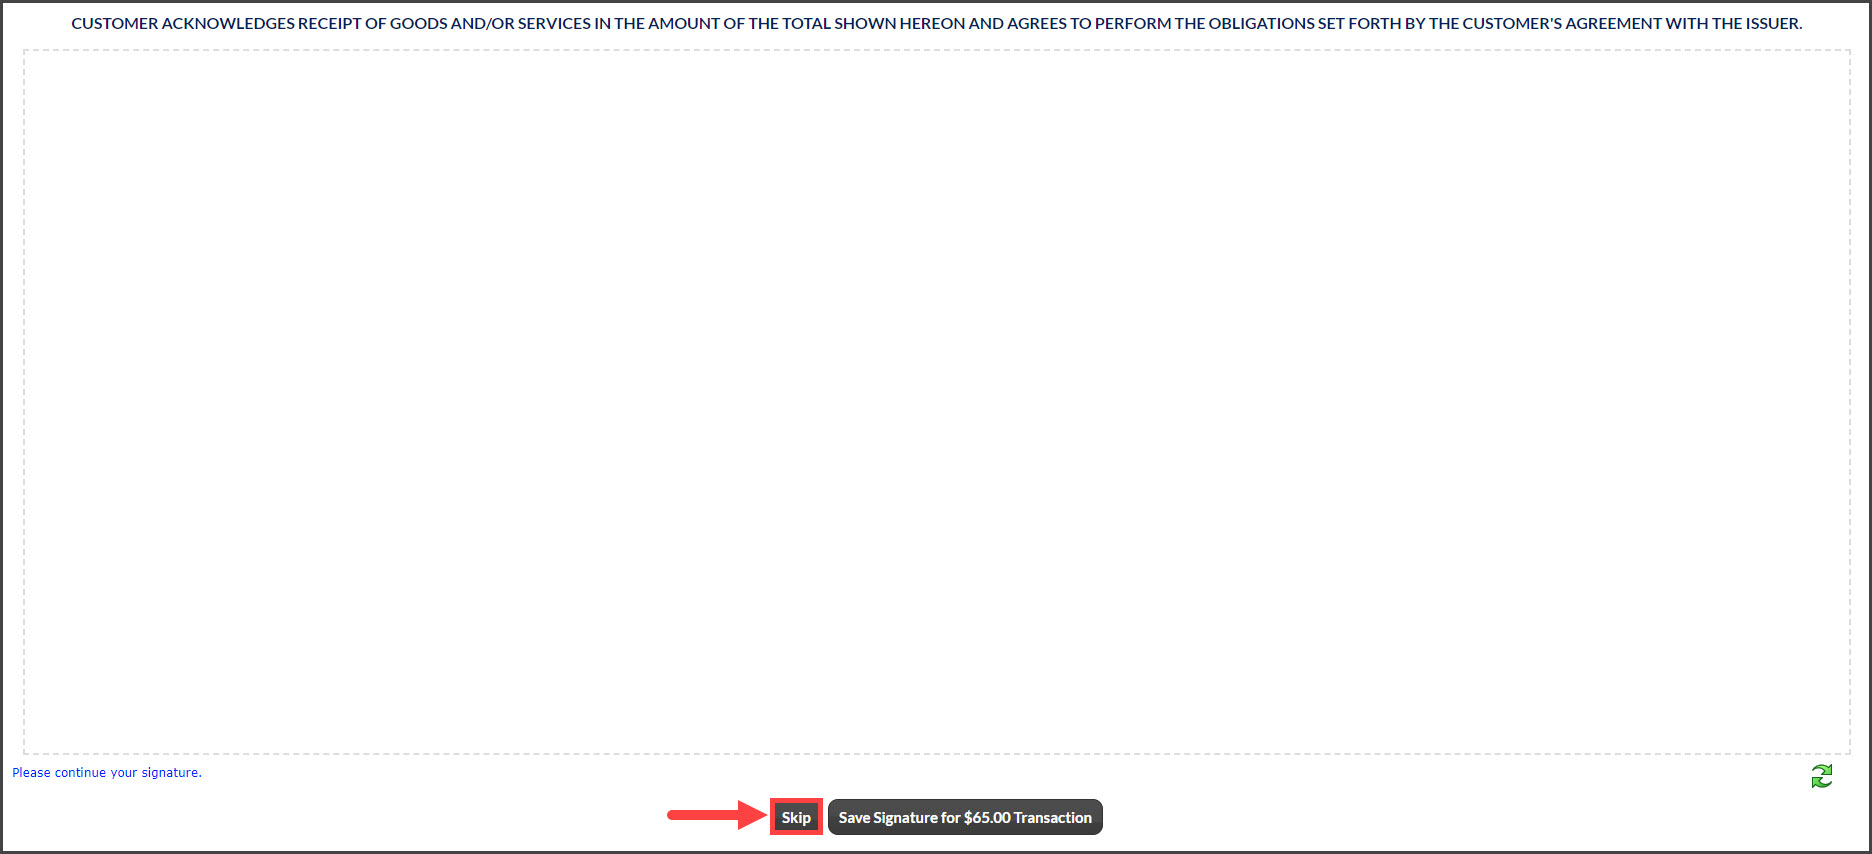
If you Skip the signature, the receipt will load with a place for the patient to sign.
Step 2: Click [Save Signature for $X Transaction].
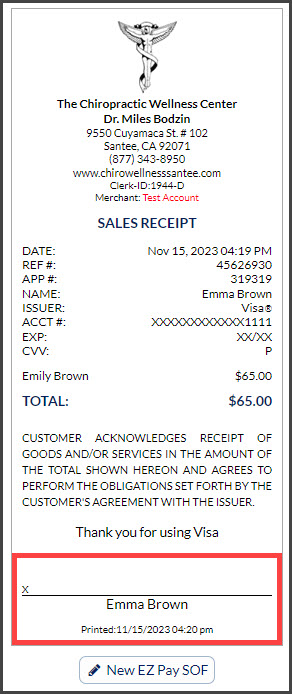
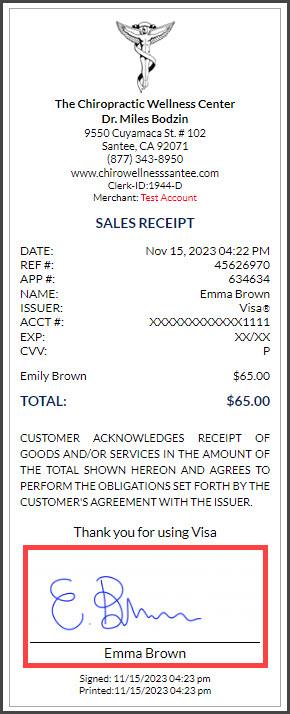
Step 3: The receipt will load with the saved signature in which you may print a copy for your patient. If your settings are set to email the patient their receipt, they will automatically receive a receipt for their accepted transaction, however, it will not display their signature. There is no need to print the receipt for an office copy because the system will save it for you!
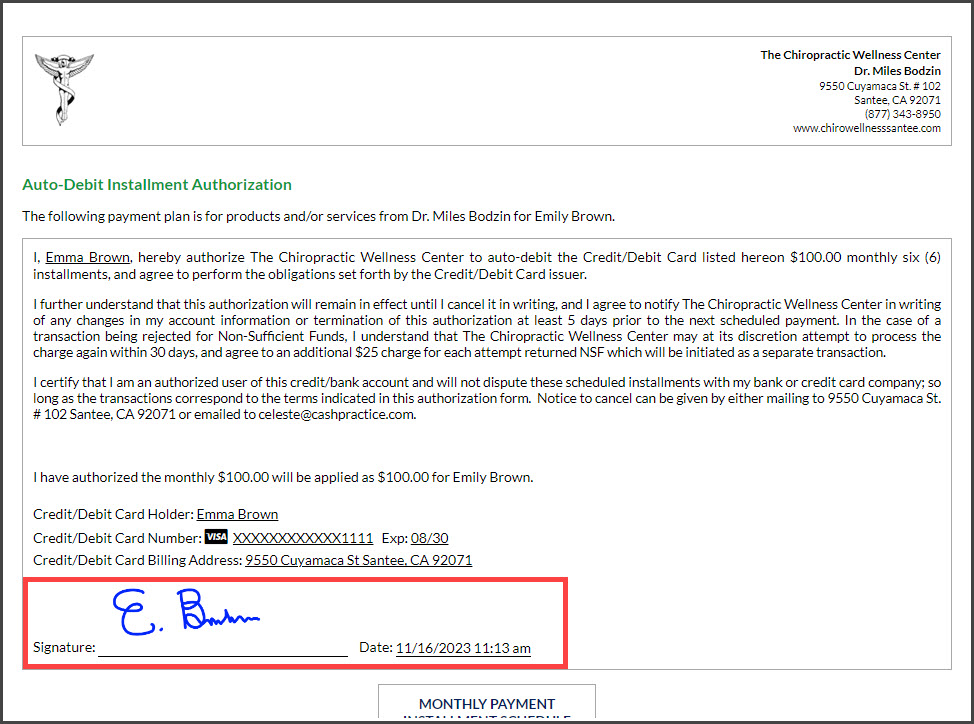
Electronic Signature of Auto-Debit Authorization:
Step 1: Once you have processed the auto-debit, a signature screen will come up and the cursor will turn into a pen. Your patient can sign via your electronic signature pad, computer mouse, or touchscreen monitor. Or you can skip the signature.
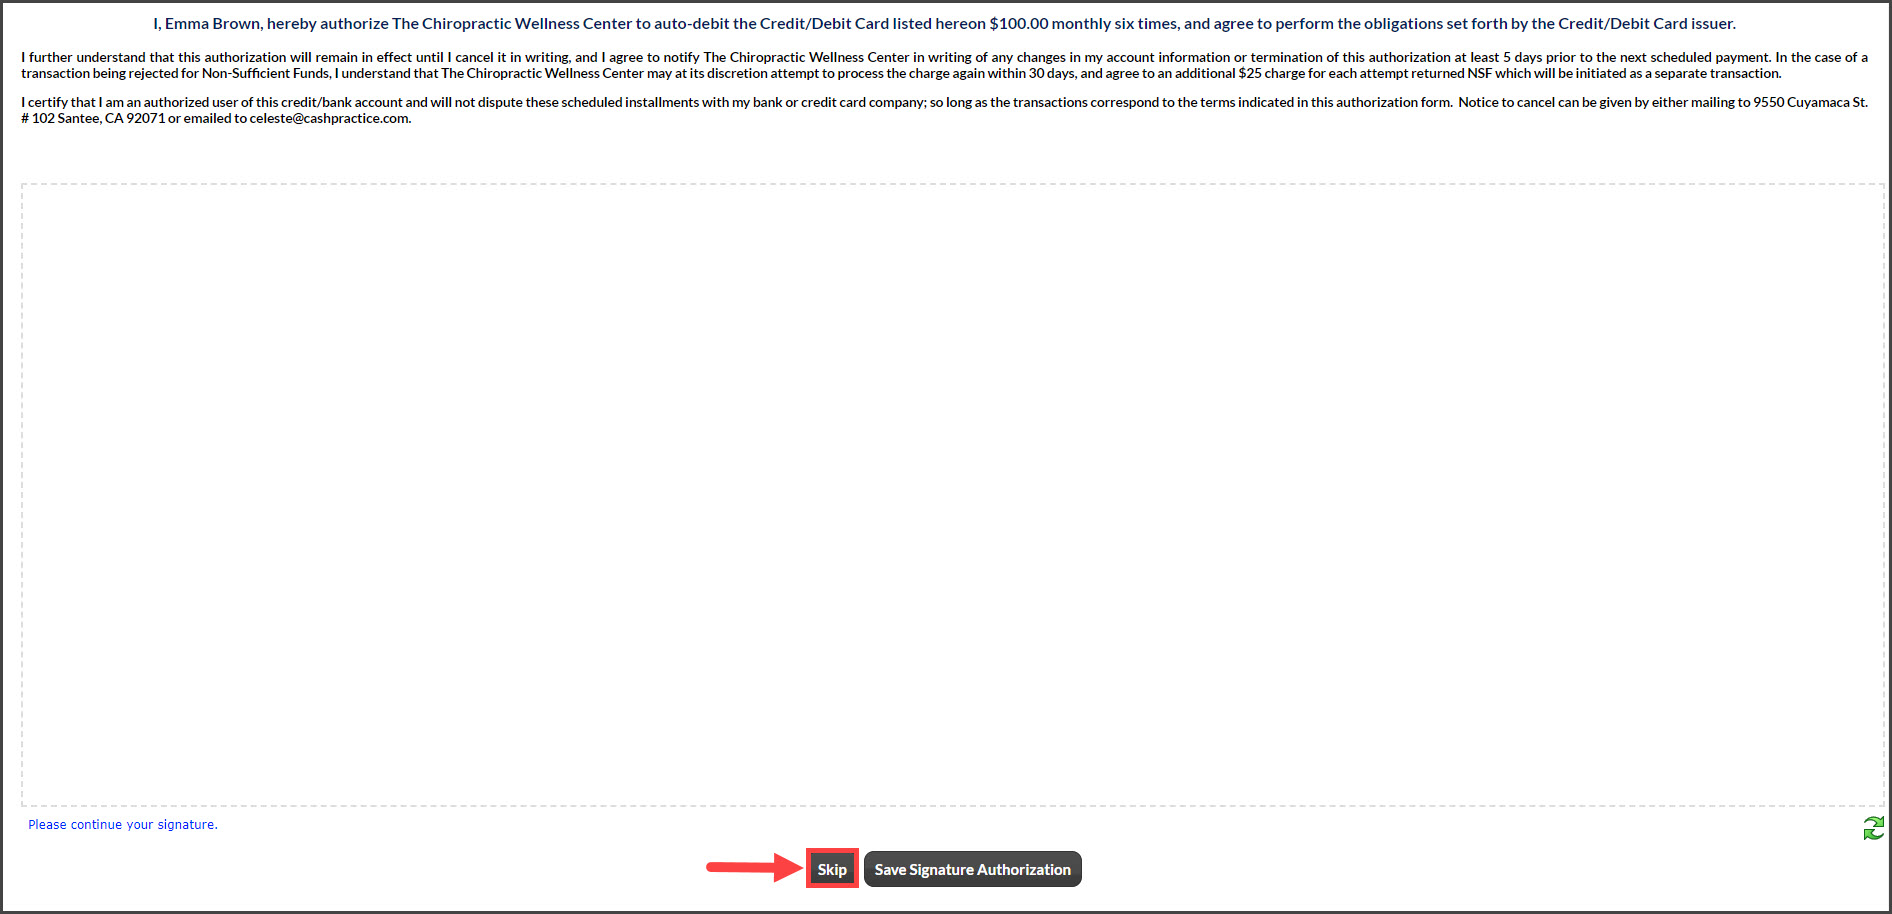
If you Skip the signature, the receipt will load with a place for the patient to sign.
Step 2: Click [Save Signature for $X Transaction].
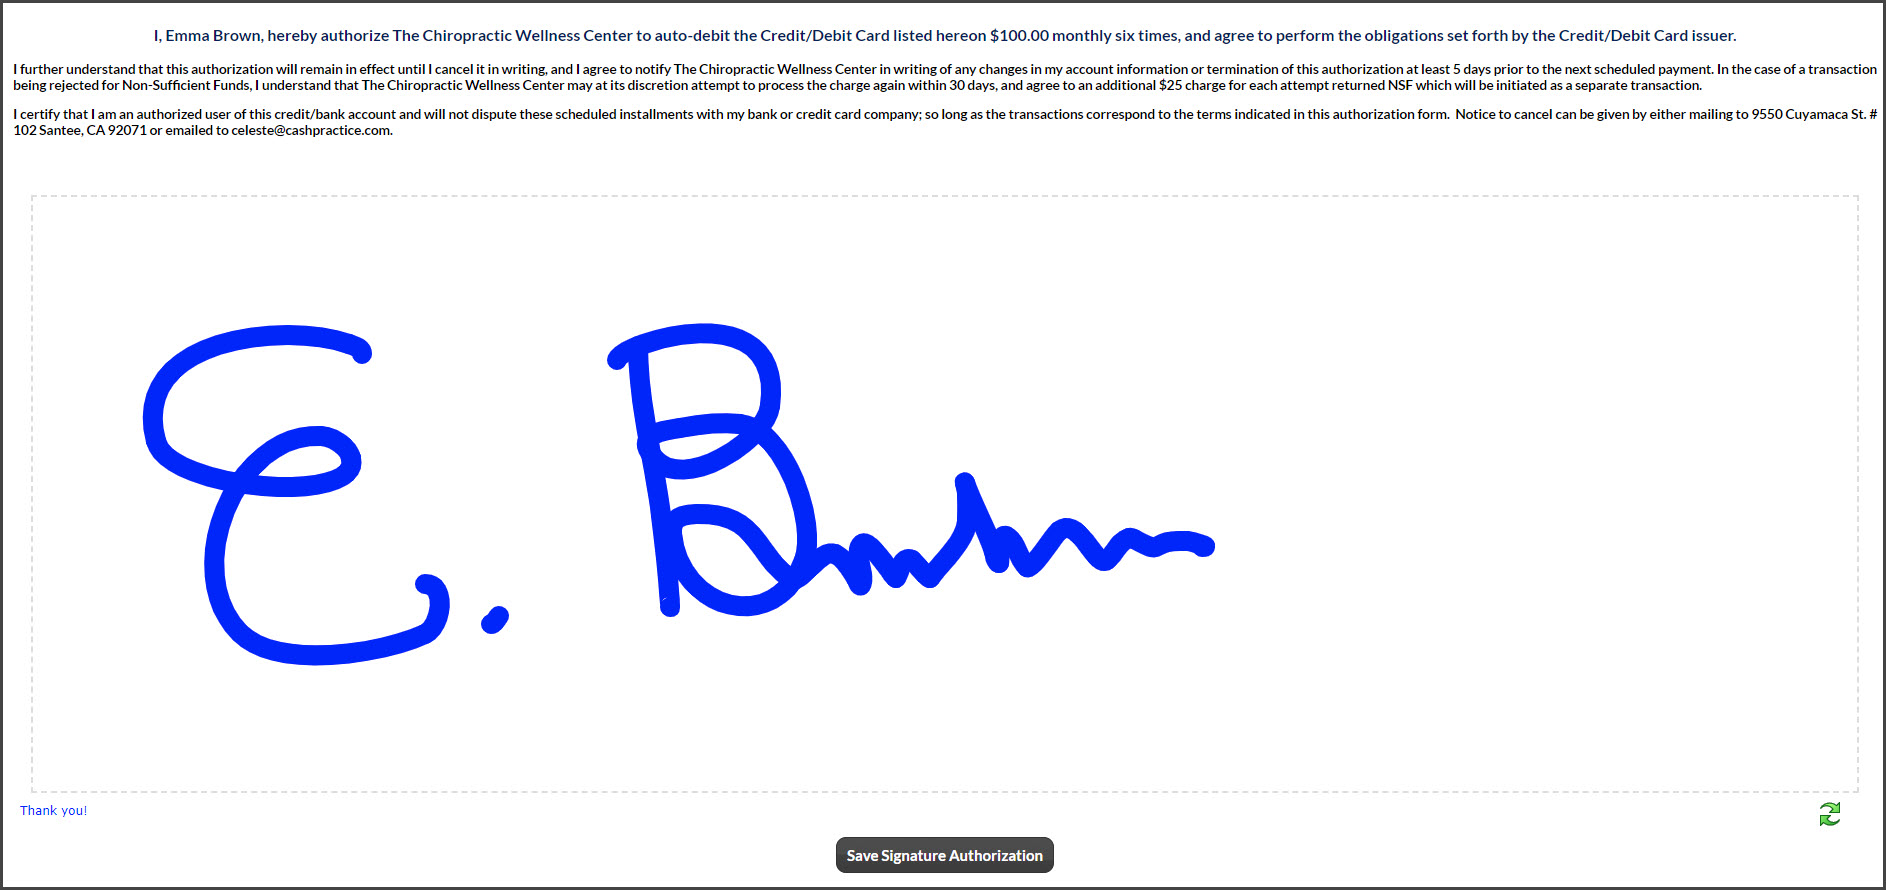
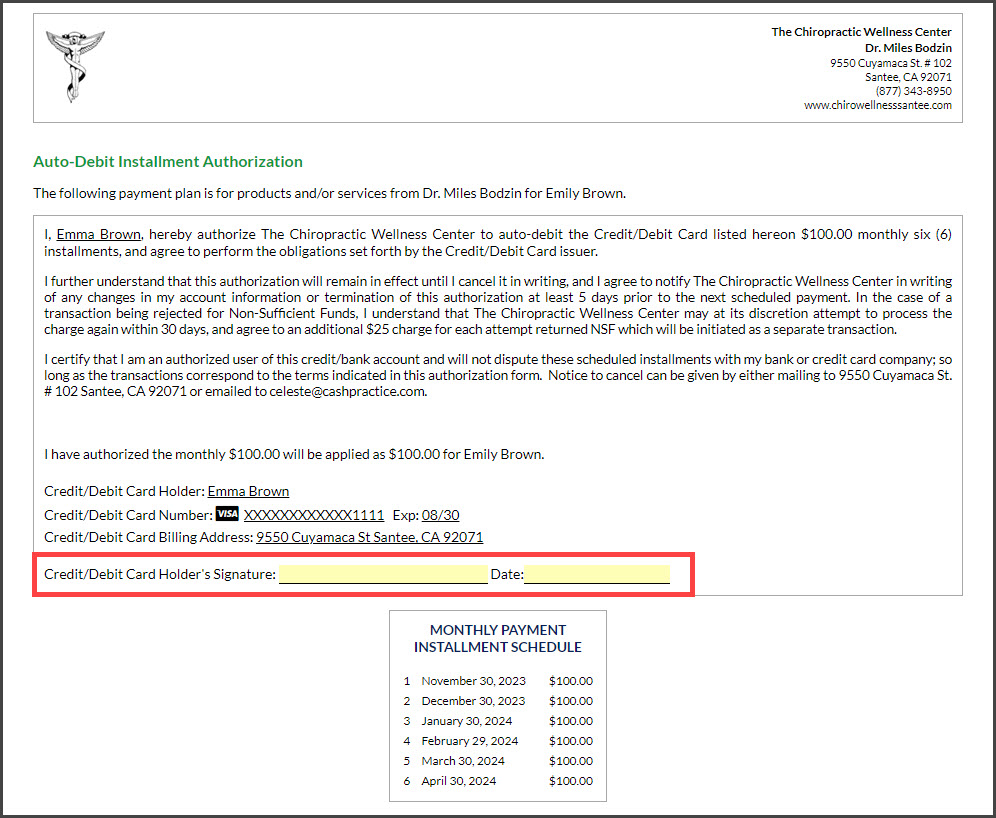
Step 3: The authorization form will load with the saved signature. You may print a copy for your patient by clicking on your logo.